Joining me were Andy, Jim, Steve and Shaun and we were off to the mid-1980's for a spot of Cold War gone hot with Steve's excellent 20mm East and West Germans. Honestly, the pictures don't do them justice, the kit is excellent. Terrain was a mixture of Steve's and Andy's and the rules, well, the rules were Team Yankee. But with a few changes here and there. Let me explain.
I have quite liked TY when we've played them in the past and whilst they are essentially Lionel Tarr with bits on, I have found them quite gamesy and very "BANG! - you're dead!" and that didn't sit well with me, especially for a full day demo game. So, with pad and pen ready, I had a bit of a review.
First off, I got rid of the silly bouncing rule when assaulting - if you fail to pass the roll, you bounce back. Nope, now you get stuck and become even more of a target. I mean, if you hesitate when going in, you'll get punished for it. I also changed the Bailing section. Now I know, in the novel Team Yankee, there are instances of bailing out, but in the game, this is more of a second life mechanism. You're hit, not yet dead; here, have another go. Well, I still allowed that BUT if the attacking vehicle is in range when you did that, you got a good MG-ing as well. If you survived that, you could try and re-mount. If you didn't, bye-bye tank crew. As pointed out to one interested spectator, no vehicle crew plays hokey-cokey with their vehicles in the real world. I also changed the minimum ranges for some of the anti-tank guided weapons, just so they fell in line with their real world counterparts - but more about that later on.
Finally, I completely changed the frontal armour for tanks. Why? Because the front of a tank is not a uniform piece of metal/ceramic/whatever. As it stands, TY gets you to roll for hull or turret impacts but then does nothing else. I didn't like that so sectioned the results of a frontal hit as follows:
- Roll a D6 for where the hit landed: 1-4 hull, 5-6 turret.
- If a hull hit, another D6, 1 or a 6, it's a track shot and results in a mobility kill. 2 to 5 is a straight hit to the hull itself.
- If a turret hit, another D6. 1, 2, 5 and 6 mean a hit to the main turret armour. A 3 or a 4 means a hit to the gun mantlet which on post WW2 tanks is less well armoured than the rest of the turret front.
All tanks were amended accordingly, so the Leopard 1 had turret values of 12/9/12, the T-72 20/15/20 and the T-55 14/10/14.
With that covered, let's get on with the game. As Andy has already pointed out, it was Day 6 of the War and the Warsaw Pact forces had shot their bolt. It was time for a Western counter strike to reclaim lost territory, in this case, the town of Bratberg. The East German forces held the town, forming a defensive line along the autobahn. These comprised of six T-55's, a platoon each of BMP-1's and BTR-60's, one SA-9 and 1 Shilka AAA, two BRDM-2 with AT 5's, an HQ platoon and three PT-76's for flavour. There was one BM-21 and a Hind D on call. Reserves of six T-72's were off the board to begin with, depending upon a dice roll for where and when they appeared.
 |
| Shaun's initial deployment |
 |
| Steve's initial deployment |
Attacking would be a scratch force of West Germans, six Leopard 1A5's, four Leopard 2A1's, two Jaguar's with HOT, two platoons of Marders, one platoon in TPZ-1's, two Luch's recce vehicles, 1 Gepard AA and one Marder Roland. An MBB-105 with HOT was also available.
Andy and Jim took the West Germans and decided on a bit of a feint, with Jim taking a platoon of Marders, both Jaguars and a detached TPZ squad to probe the Ossie's right. He also had the helo in support. Andy led the strike against the Ossie left with everything else; the Leopard 1's and the Marder platoon in the lead, followed by the AA detachment, the Leopard 2's and finally the remaining TPZ's.
Steve and Shaun formed a defensive line with the road bridge over the autobahn dividing their forces. These were pretty evenly split, the BMP's holding the Ossie right with three T-55's, and the BTR-60's helping the remaining T-55's on the left. With that all set up, we were off to the races.
Pretty much nothing happened for the first few turns as Jim and Andy got into position, Jim approaching the T-55/BMP line cautiously. Once the action started, though, it got a bit more interesting and for the sake of clarity, I'll describe each flank in its entirety, starting with Jim.
 |
| Jim starting off |
 |
| West Germans obviously forgot to pay the taxi fare... |
 |
| Jim means business... |
If all that sounds rather boring, it wasn't. It was, however, bitty and it took a good fifteen (15!) turns to get to that point, including one turn (#10), where out of six rounds of firing, only one hit was scored! Truly bum dice rolling indeed! However, this feint allowed Andy to do the business on his side of the road so the sacrifices made by Jim were not in vain.
Andy led off with the Marder platoon, coming into contact with Shaun's T-55's. Although he covered his forces with 120mm mortar fire (using Asquith's rules for WW2 as I don't like how TY handles artillery and mortars - although the physical copy of Asquith I picked up at the Durham show for £1 served as a handy template!), Andy rolled snake eyes more than once for his mortar fire - Oops! He had to get closer to the Ossie line. This was where the amended hit rules came into play.
As early as turn 8, Andy's Leopard 1's were effective, killing a T-55 and a BRDM, whilst attaining mobility kills against two more T-55's. The following turn saw a mobility hit against a Leopard 1 and another dead T-55/BRDM combo. Turn 10 finally saw the appearance of the first T-72 unit, right where they needed to be! The missed with each shot they fired! Shaun was not overly impressed. Andy's return killed two of the three T-72's.
 |
| Looks rather impressive... |
 |
| Mr Hind makes an appearance... |
 |
| Mr Roland thinks he shouldn't. |
 |
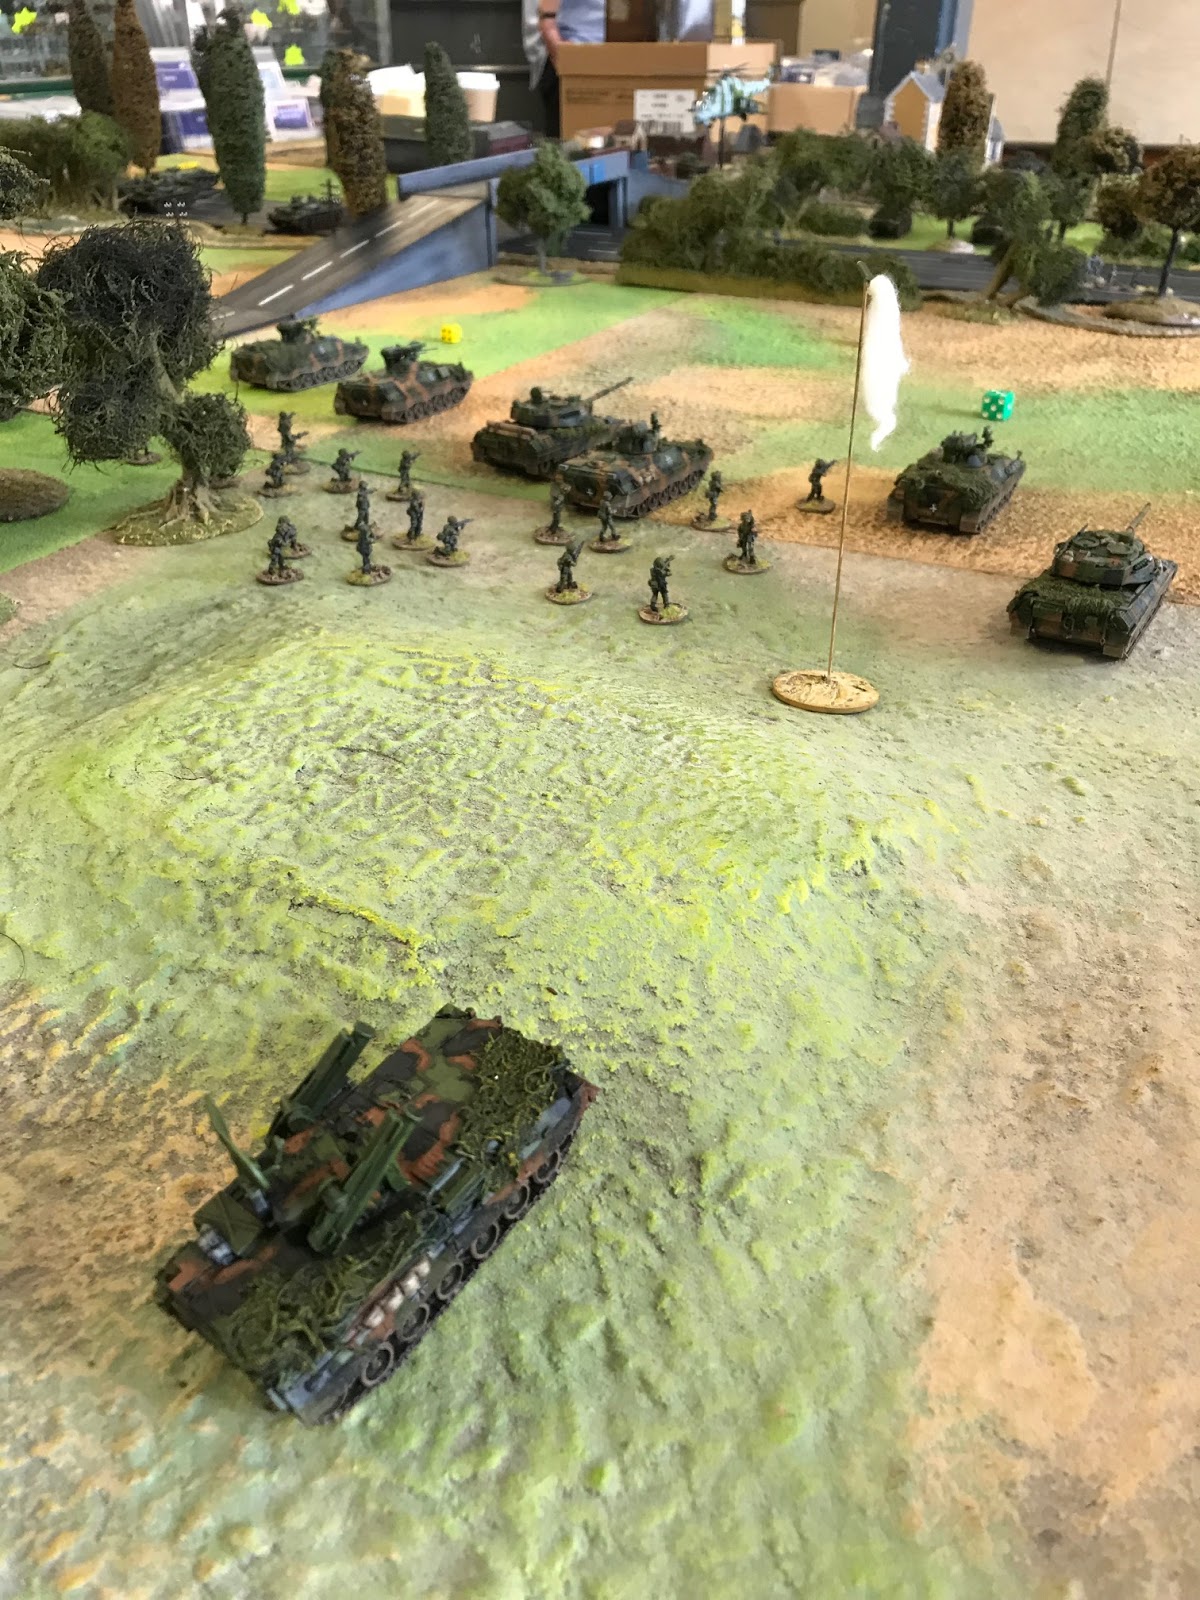
| Charge!!! |
 |
| The final defence before... |
 |
| And after... |
Looking back at the game, the participants said they enjoyed it and I certainly enjoyed umpiring it. Umpiring is a conscious choice in wargaming and I often hear how people don't like it as it means they don't get to play the game. The fun I had was in knowing the period and using that knowledge to run a game that would be both fun and true to the period. And be a twat. :-)
There were issues encountered, both with my amendments (which I'll refine for the next time, which we don't know when that will be but it will be a while of yet, variety and all that being important to our club) and the rules themselves. I am still not happy with the handling of artillery in TY and I really don't like how they group arty and mortars in the same class. They aren't and that should be reflected appropriately in any rules.
The biggest bug bear - ranges. To be Frank (not Turner, Eddie!), TY's ranges are all over the place. Along with the aforementioned AT-6 issue, Steve pointed out the range of Roland compared to the Hind's armament. Roland has a range of 56 inches (8 km in the real world), yet compare that to the AT-6 (20 inches/5 km). MG and rifle fire were also discussed (AKM rifle 8 inches, G3 16 inches - yet although the bullets may travel further, effective rifle range for most infantry in the real world is rarely over 300-400m, whatever tools they are using - and yes, I am aware that it's different in Afghanistan but that's a different case altogether). The ranges are very gamesy and as Steve pointed out, it only took thirty seconds to find the relevant information online about real world ranges.
What this means is that some more fiddling about with the rules is needed and this will be done in time. That may offend some ruleset purists who declare that the written word is gospel but for me, and the rest of the TWATS, the rules form the framework, not the entirety of a game. If it is bollocks in the rules, we call it and change it. And Lord forbid what people think of us playing Team Yankee with non-TY kit!!! Speaking of rules, Jim did pose the question, "What would it have been like with Combined Arms? Same scenario, just a different ruleset". Good question and one that we may answer in a future Saturday game.
One final point. The game was designed as a demonstration game. In other words, to show what wargaming can be like and for anyone who was interested to stop us and ask questions. This people did and it was part of the enjoyment of the day to talk to different people and inform them of what we were doing. It was not, and never will be a chore to talk about my hobby when putting something like this on. Some demo wargamers at other shows should follow that train of thought too.
A fine impartial report and some good rules nots for future reference and yes I fancy a go with combined arms too
ReplyDeleteThank you kindly! I think the long term aim for using these rules will be to make them a lot less gamesy and more true to real life, without too far in the opposite direction.
ReplyDeleteThe AT-6 range represents the fact Hinds strafed rather than hovered. NATO Copters have longer ranges but are move or shoot to represent hunter killer tactics. Russian copters can move and shoot, but have shorter ranged missiles to force players to use Soviet stlye tactics, which were to use these helicopters almost as ground attack planes. I think your also mis-understanding what 'bailed out' represents. It's not necessarily the crew getting out, but non terminal damage such as the gunnery computer needing resetting or a crewman injured, crew being stunned, the engine shutting down and power being lost, etc. Basically a minor penetration or severe non penetrating hit.
ReplyDeleteI understand your point about the tactics but by including a range that is so obviously counter to the real world, the game designers are forcing players to act in a gamey way (there must be a balance so one player in not dis-advantaged too much. Why? That's not what happens in the real world). Every video I have seen of Hinds firing ATGW have them hovering or moving slowly forwards - this is presumably to help the gunner stay on target - and he's not shooting off rockets or cannon at the same time!. If they wanted to include tactics in the rule set then there should have been a section on it rather than deliberately taking player choice away. As umpire of the game, I chose to let Steve have the range. It should be noted that three of the five attendants have more than a passing knowledge of the period, something that TY as a whole seems to think is not necessary. After all, it's just a game, innit??? That is one of the benefits of an umpire led game - providing the real world knowledge is there, you don't have to stick to the rules verbatim and can make off the cuff decisions.
ReplyDeleteAs for the bailing out, I took the rules literally - you can bail out and re-mount and the reasons can include being scared of whats going to hit the tank next, (which surely means that to re-mount, you have to dis-mount in the first place?). That again was a personal choice when amending the rules. There is no right or wrong here. My choice was accepted by the guys for the game. If the designers wanted to include the reasons you list, then surely they would have included them in the rules. In that sense, I don't think I have mis-understood at all.
The setup looked great but I cannot get past the rules themselves, like their predecessor, Flames of War, I found them too broken to bother with... which is a pity because the models look great too.
ReplyDeleteI can't speak for FoW as I have never played them. TY needs work and I completely understand that one look at any rule set is enough to put you off them. There are, of course, plenty of alternatives to TY. We use Combined Arms as our go to modern set but are willing to give any set a go. Sometimes they fly, sometimes they crash and burn. And then there are some that, with some tinkering, can be quite useful. I am sure Steve will appreciate the kind comment too!
Delete